
Create and rename a project
Create a project for your website in your Space. A Space is a shared workspace in the app.
On this page
Note
You need Owner, Administrator or User in the Space.
The Space's plan allows another project: 1 project per Space on Free, 10 on Max.
Create the project
-
Open the creation dialog
Use Projects to open the project list, then click Create project. If the Space has no project yet, the button appears in No project yet.

The create button in a Space with no projects. -
Name the project
Enter a name in Name, for example
Muster-Website, then click Create.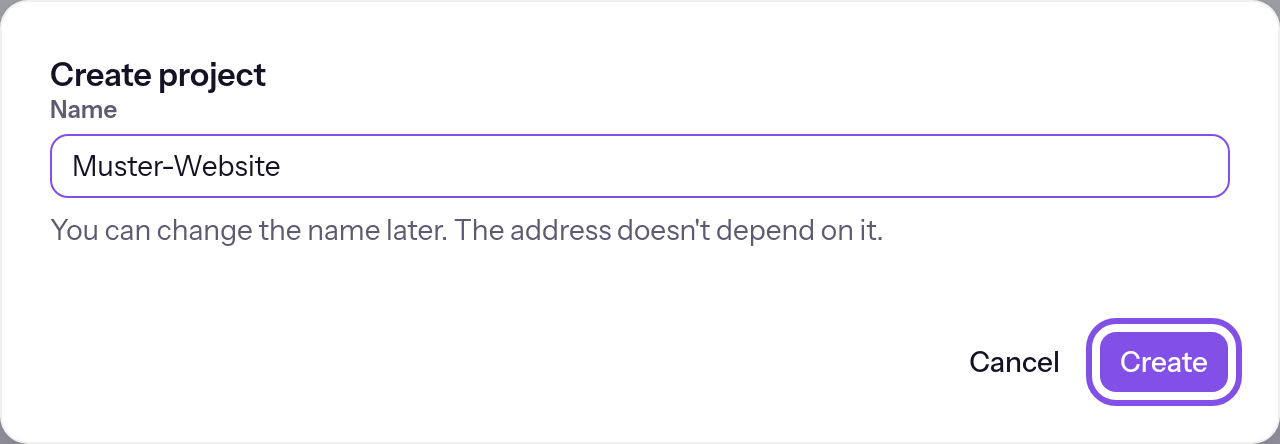
The dialog asks only for the name.
Project created confirms creation. The project page shows your TEISENDA address <Projektnummer>-<Space-ID>.teisendahosting.com; nothing is published yet.
Good to know
- The project is private: only you, the person who created it, can view the website. To change this, see Visibility.
- The name has 1 to 80 characters and need not be unique. It does not affect the address.
- When the Space has as many projects as the plan allows, the button is disabled: it appears pale and does not respond. Only its tooltip states the reason. On Max, each additional-project package adds 5. For all figures, see Limits.
- The project belongs to the Space where you create it and cannot be moved to another.
If something goes wrong
Enter a name.
The name is empty or contains only spaces. Enter a name.
The name contains characters that aren't allowed.
The name contains control characters, such as a newline or tab included when pasting. Remove them and type the name instead of pasting it.
Project created, but not yet transferred to the hosting node
This is not a rejection: TEISENDA created the project, but the hosting node has not accepted it. Until then, the upload area and button are disabled; a sentence between them states the reason. In Status on the hosting node, click Transfer again, or wait: the app retries about every five minutes. See Send the current state again.
“This Space's plan allows no more projects. Created: … of ….”
The Space has as many projects as its plan allows, and TEISENDA created nothing. This sentence also appears below the dialog field if the Space reaches the limit after you open it. Delete a project. A larger plan allows more projects; for plan allowances, see Plans.
For messages such as You don't have permission for that., see Understanding hosting.
Rename the project
Note
You have Owner, Administrator or User in the Space. Read-only does not see the field.
-
Open the project
Click the project's name in the project list.
-
Change and save the name
In General, enter the new name in Name, for example
Muster-Website 2026, then click Save.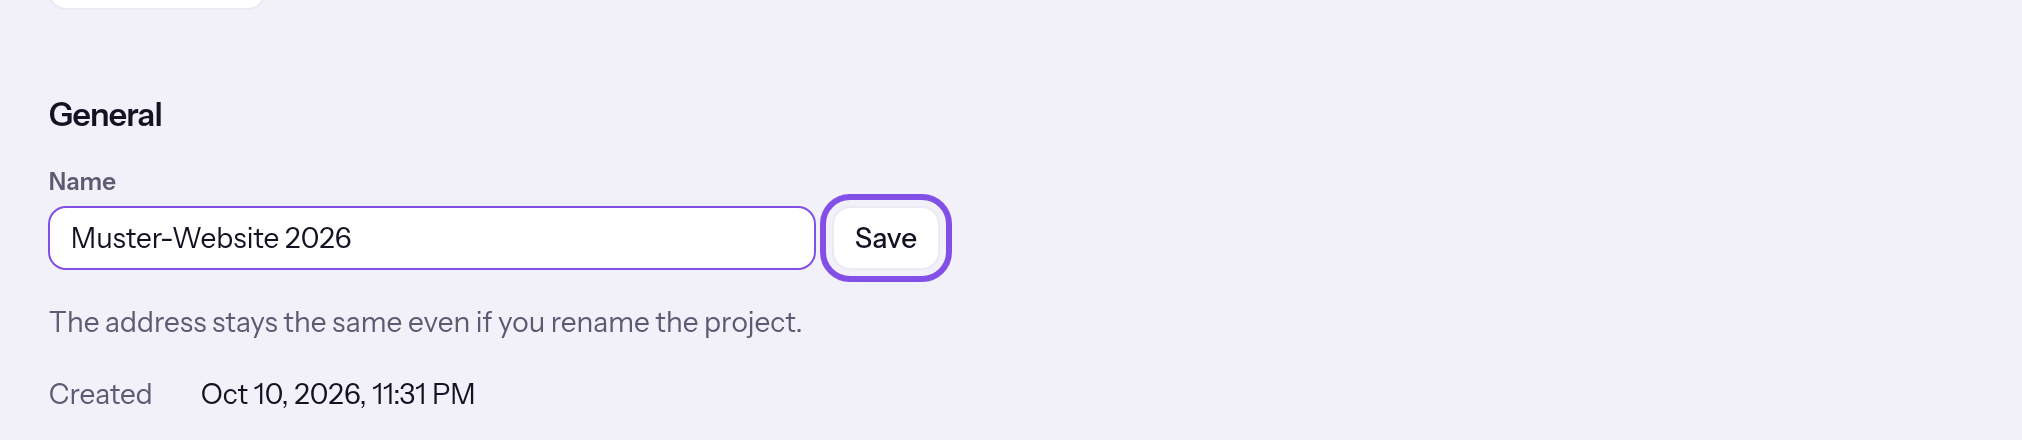
The name field and save button.
Name saved confirms the new name. The address, versions and settings remain.
If something goes wrong
Enter a name.
The name is empty or contains only spaces. Enter a name.
The name contains characters that aren't allowed.
The name contains control characters, such as a newline or tab included when pasting. Remove them and type the name instead of pasting it.
For messages such as You don't have permission for that., see Understanding hosting.