
Create and set up a Space
A Space is a shared workspace in the app. Create another Space through the Space switcher, then set it up.
On this page
Note
When creating a Space, you confirm that you are acting as a business rather than a consumer.
Create the Space
-
Choose Create new Space in the Space switcher
Open the Space switcher at the top of the sidebar, or in the header on narrower screens. Choose Create new Space at the end of the list.
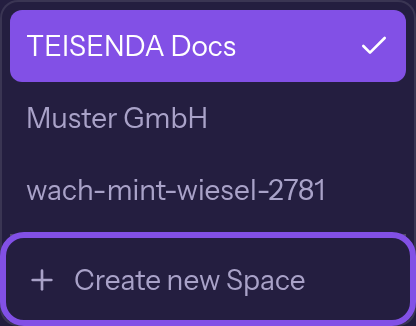
The create entry is the last item in the list. -
Confirm and create the Space
In the dialog, tick I am acting as a business, or in the course of my trade or self-employed professional activity, and not as a consumer.. Click Create.
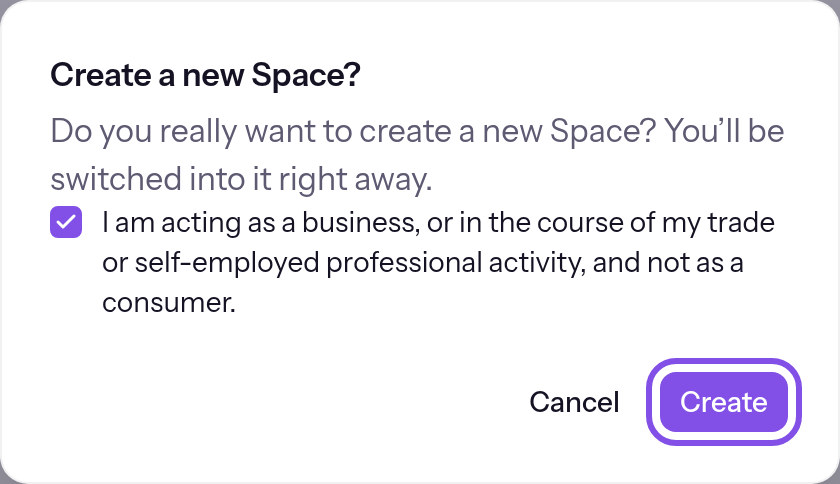
The checkbox is ticked; the create button is highlighted.
The new Space opens with the setup dialog; you have the Owner role.
Good to know
- You can make five creation requests per hour; the window starts at the beginning of each hour (UTC).
- Cancel closes the dialog without creating a Space.
If something goes wrong
Please confirm that you are acting as a business and not as a consumer.
You have not confirmed. Tick the checkbox and click Create again.
Too many Spaces created in a short time. Please try again later.
You have reached the hourly limit. Try again after the next full hour.
The Space could not be created. Please try again.
The Space could not be created. Try again.
More questions about creating a Space
Where do I create a Space if I do not belong to one?
If you are signed in but do not belong to any Space, a single Create new Space button appears in place of the Space switcher, for example on /settings/profile. It opens the same dialog as step 1; continue with step 2.
Set up the Space when you first open it
The Set up your Space dialog asks for a name and time zone.
Note
You have the Owner or Administrator role in the Space, and it has not been set up yet.
-
Enter a name and time zone
Enter a name under Display name, for example
Beispiel GmbH. Choose a time zone from the list under Time zone; type to search the list. -
Save the details
Click Save. The dialog closes.
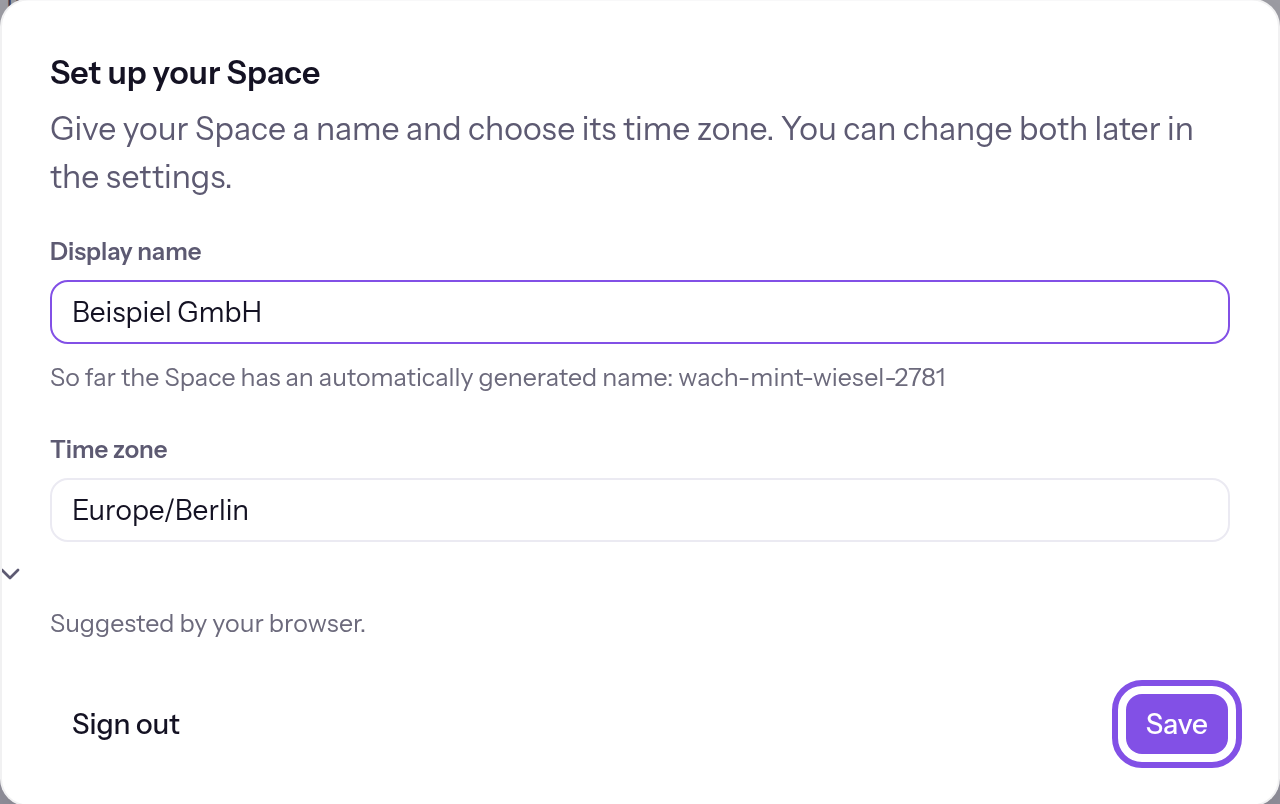
The name and time zone are filled in; the save button is highlighted.
The Space is set up; you can change the name and time zone later in the general settings.
Good to know
- You cannot dismiss the dialog; you can only save or use Sign out to sign out.
- If nobody has chosen a time zone for the Space yet, the field defaults to your browser's time zone.
If something goes wrong
Give the Space a name to save.
The name field is empty or contains only spaces, and Save is disabled. Enter a name. Leaving the empty field also shows This information is missing. below it.
Settings could not be saved.
Saving failed for another reason. Try again.